Quality Control in Manufacturing
We often write about the various standards and specifications governing different parts, which usually are authored by a specific third-party specifying agency responsible for that industry. While manufacturing standards may vary across all of these governing bodies, one universally shared detail across all standards is that the produced parts are to be checked and controlled for quality after their fabrication. That is to say, a standard is only as good as its enforcement, and ensuring the reliability and integrity of parts manufactured all over the world is arguably more challenging than designing.
Traditional standards enforcement was largely left to individual manufacturers and their industry’s respective standards organization, achieved through basic end-of-line lot sampling and inspection. Over time, manufacturers have increasingly implemented automated, inline, upstream quality control systems, catching and correcting manufacturing errors in-situ, both to reduce reject / rework costs as well as to provide more reliable quantity volumes to customers.
Today, manufacturers largely use a combination of statistical process control, highly automated inspection instruments, and substantial documentation to make up their Quality Assurance programs and Quality Control practices. Manufacturers supplying are required to meet these same Quality expectations, though often even more expectations are involved such as additional layers of verification, and third-party laboratory testing to prove conformance prior to shipping out orders.
What Quality Control Parameters We Tested?
Quality Control programs in manufacturing typically measure factors that are most at risk of failure, where harm to humans may be caused if the parts were manufactured out of compliance with the application’s standards.
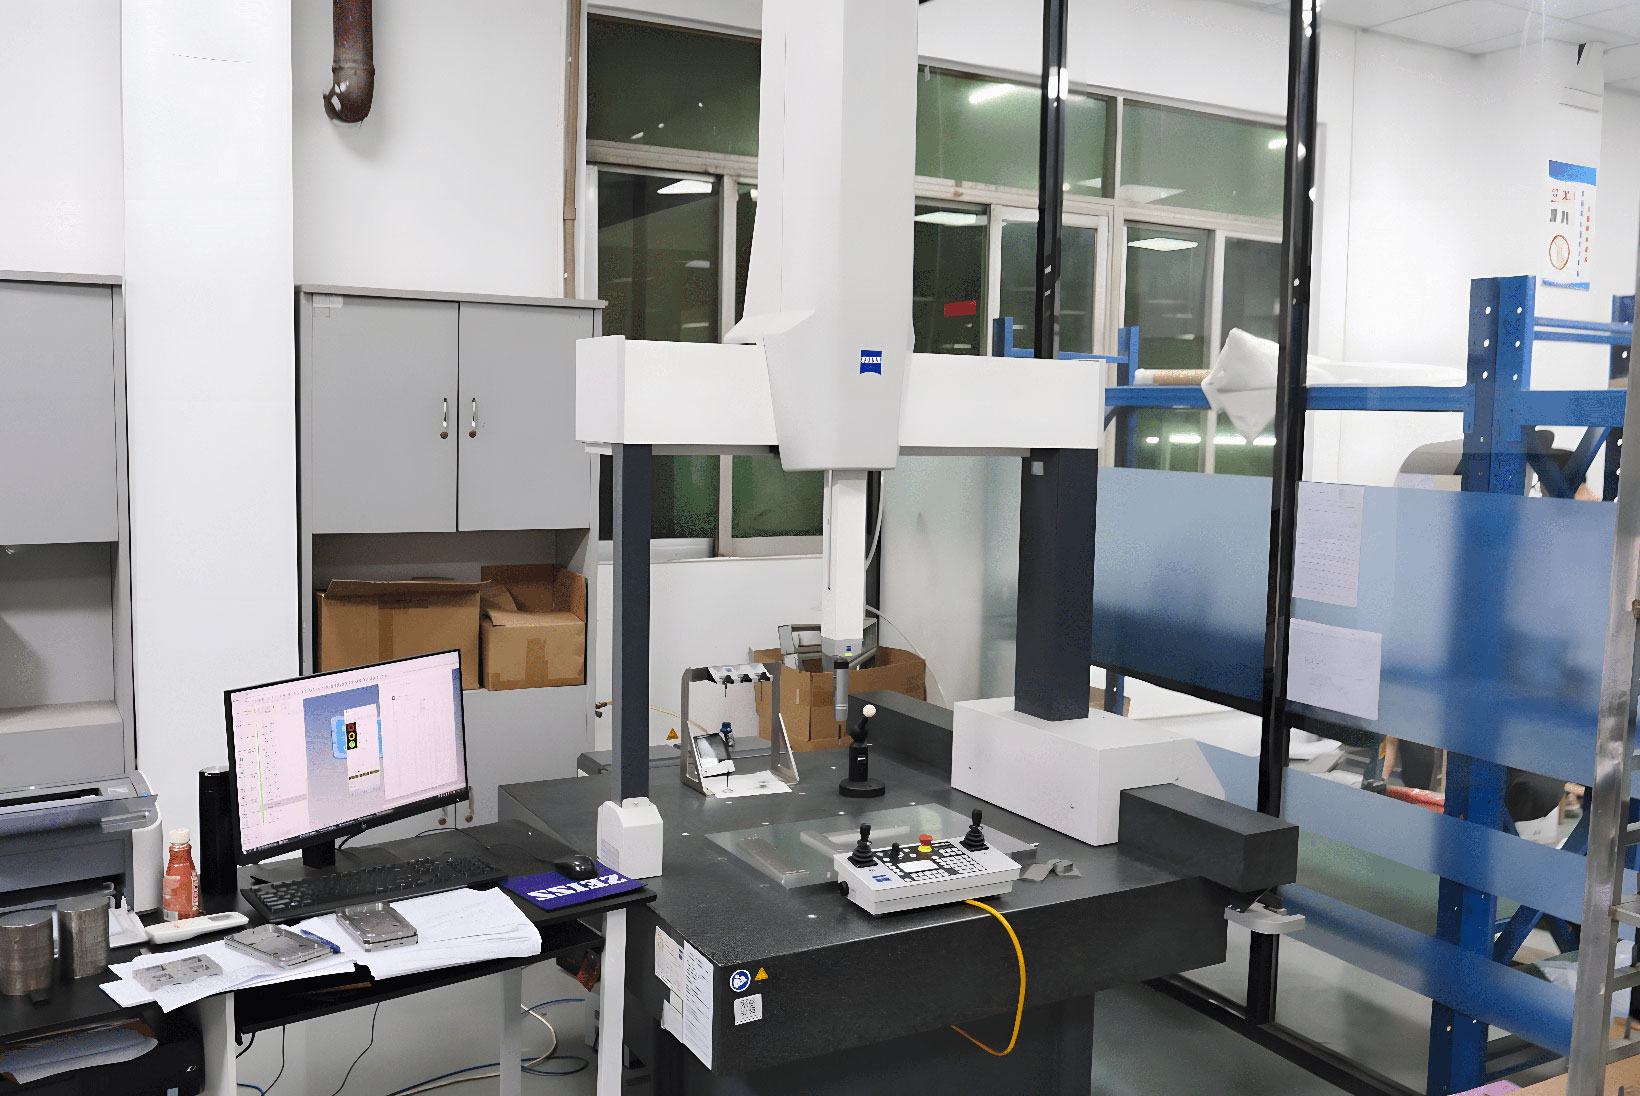
DIMENSION TEST
Dimensional tolerances, weight, identification stamps and markings, and general physical form are all requiring inspection. These requirements can be numerous and very critical for special applications, measuring every facet of machined fabrication such as thread pitch, thread spacing, run-out, and even aggregate tolerances across paired assemblies (nuts and washers).
Material Properties
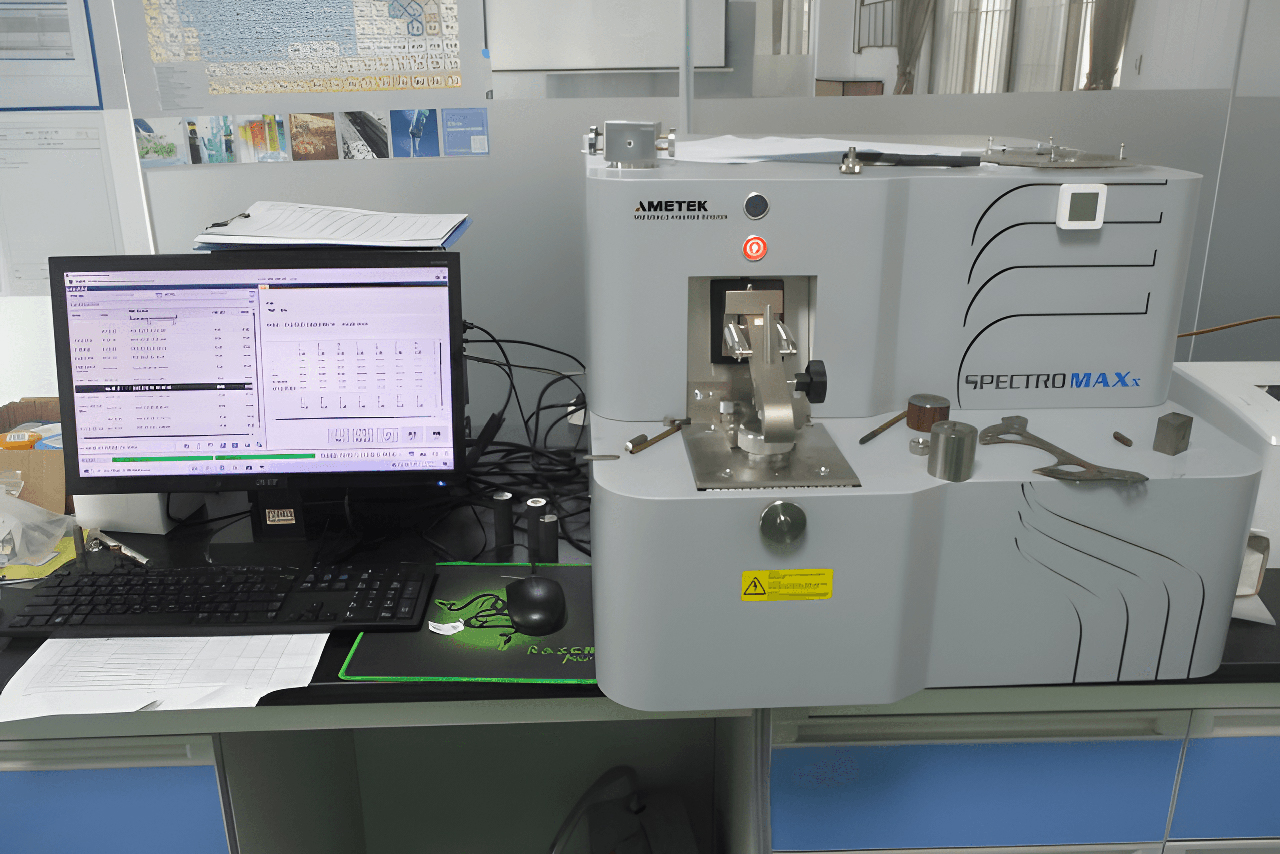
Products must be made with the correct alloy and thermal treatment in order to provide the necessary strength, corrosion resistance, and wear characteristics. Checking raw material documentation, heat treatment temperature and time records, and performing spectrometric analysis are a few common methods of confirming material properties.
Mechanical Properties
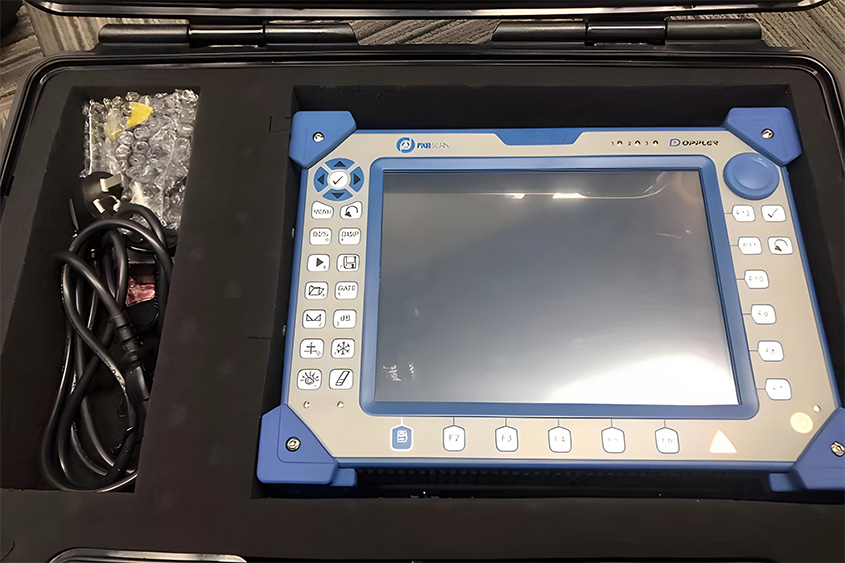
Manufacturers will always prefer to find failures of their products in their lab and never in the field after installation, often conducting various physical tests on their products such as hardness, deformation, and tensile strength testing.

Finish Properties
Whether for decorative or functional purposes, product finishes are also inspected upon fabrication to make sure that they meet the correct sheen, roughness, polish, grain, porosity, and color requirements.
Coating Properties
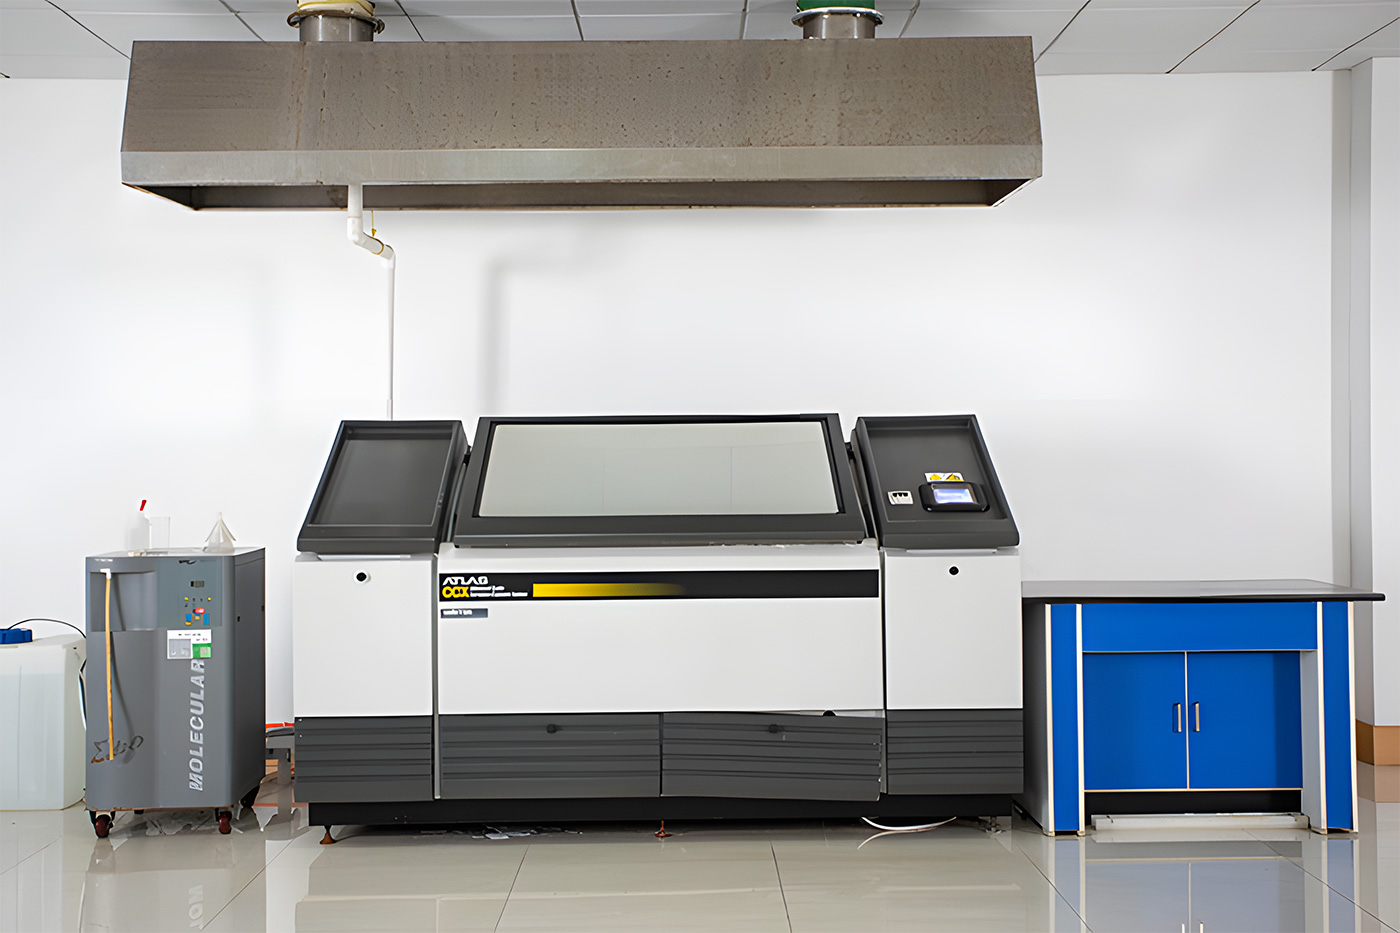
For materials that are coated after initial fabrication, further tests are involved to ensure that the coating’s thickness, uniformity, adhesion, tactility, color, and markings are all properly observed.
Do you have a critical fastening application but are unsure of which specialty parts might be best to use? We offers expert support and product selection between the above options and more! Contact us to discuss your application.
How are Quality Control Tests Performed?
High-quality and high-volume manufacturers almost always utilize their own internal testing laboratories to perform Quality Control evaluations, and many also use external third-party labs to confirm their findings (often as a requirement of a supply agreement). Smaller fabricators may rely entirely on external evaluators for full testing but may perform general measurement and documentation work internally. Either way, both manufacturers rely on accurate test equipment to help complete their Quality Control battery, such as the examples provided below.
- Hand Tools – tried-and-true traditional hand tooling can provide highly accurate quality inspection measurements. Thread ring gages, pitch gages, plug gages, depth gage, and micrometers are common tools used for first-pass inspections, usually employed for basic measurement or random grab tests.
- Optical Comparator – also known as a Profile Projector, an Optical Comparator is a visual inspection tool that projects an enlarged view of a fabricated part detail against an illuminated screen, allowing for digital measurements and software analysis of precision details on small parts.
- Magnetic Particle Inspection System – a form of nondestructive testing (NDT), Magnetic Particle Inspection imposes a magnetic field across a part’s surface which can then be measured with great accuracy for any surface irregularities (they would display as distortions across the magnetic field).
- Surface Roughness Tester – this tool can quickly measure the roughness depth, texture, and roughness value (Ra) down to micrometer and even micron units.
- Coating Meter – available in several different technologies, a Coating Meter can use ultrasonic, resistive, conductive, thermal, or other means to measure the thickness, uniformity, adhesion, and consistency of coatings, films, linings, and plating applied to products.
- Fatigue Testing – these test systems apply loads to products in multiple directions, varying consistency, and across different amounts of time, all to examine tensile, compression, and alternating load capacities of a fastener.
- Torsion Testing – simply put, a Torsion Test station ‘twists’ a fastener to determine its torsional strength, stiffness, and stress-strain properties.
- Hardness Testing – by applying a specifically-dimensioned load point to a fastener, a Hardness Testing station is able to measure the material’s resistance to indentation, otherwise known as hardness. This can help identify issues with material alloys and thermal treatment processes meant to harden the material.
- Optical Sorting – last but not least, an Optical Sorting station visually examines products for overall profile, appearance, color, and other visual parameters against control samples (via advanced software).
It’s worth pointing out that while the above list of testing equipment represents some of the most sophisticated options available today, these tools only make up half of the overall effort involved in managing a modern Quality Control program. The other half of the battle is to document, study, and learn from all test findings over time, feeding into a Continuous Process Improvement paradigm in which a manufacturer makes statistically-informed, proactive improvements to their processes. These improvements increase successful part production, cut waste, cut costs, and heighten the safety of the systems that these parts are supplied.


